| |
|
Phase 1 of installation of the new LUGNET servers is a success
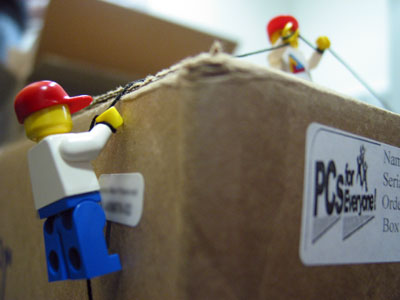
The new servers arrived yesterday in a pair of giant cardboard boxes...
...which, though mildly annoying, did give us some much needed exercise.
We went up one at a time.
Once atop, we realized that we had forgotten to bring our utility knives.
How were we supposed to get the darn boxes open?!

Fortunately, one of our engineers knew a thing or two about how to use a
screwdriver.

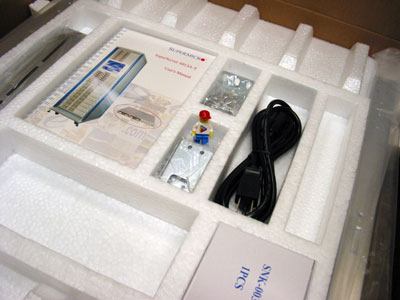
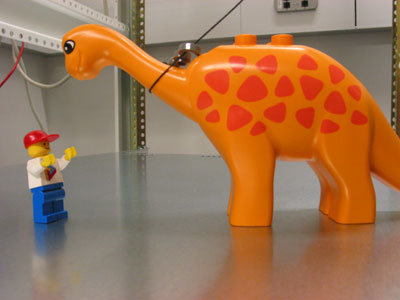
Inside the box, we went straight for the front rackmount brackets, which
hold the systems in place at the front of the rack.
Next, we went for the long, giant, ball-bearing brackets hold the systems
in place along the length of the rack from front to back.
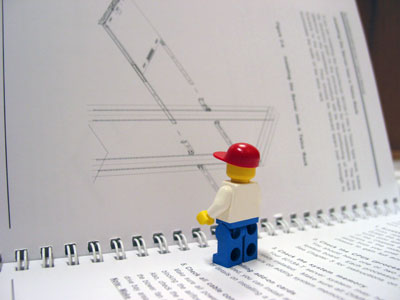
After installing the brackets, we were ready to open the systems
themselves. They were covered by a very thick mylar wrapper. It was
too strong to bite through, so again we took the unconventional approach.
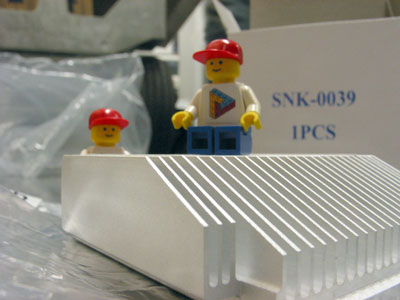
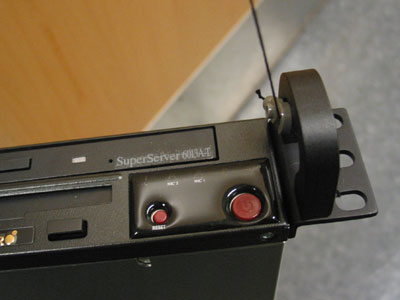
The motherboards support dual Intel® Xeon™ processors. Each system has one
processor now, with Hyper-Threading enabled, and we hope to add a second
processor to each system within a month or two.
(Embarrassingly, we had a bit of trouble locating the heat sinks, but we
did eventually find them in the box.)
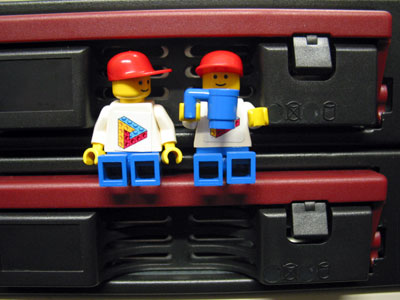
Well, two hours in, we began to hoist the systems up the rack. This was
by far the most difficult part of the evening. We brought plenty of
DinoSnaps in case our helpers got bored.
We were pretty happy when we got to the point where we were ready to
unpack the power cord.
And we needed a coffee break after that.
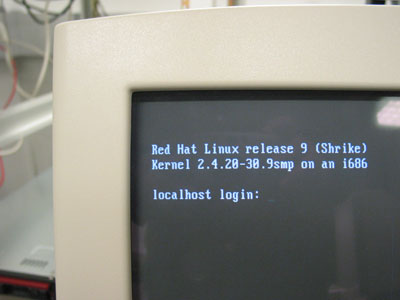
Four hours in, we powered up the systems. Yay, they came up! We
proceeded to configure the BIOS, and then began the long software
installation process. For the most part, the software installation
went smoothly. Configuring the RAID1 driver was a challenge, however,
but we managed to get it going.
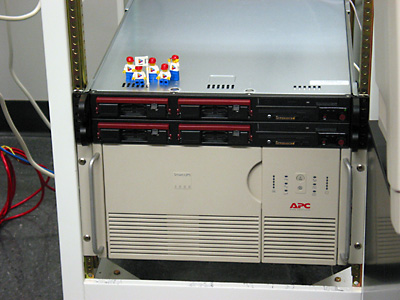
Proud of an evening’s hard work, we took some final snapshots for the
scrapbook. The big huge ugly beige box below us is the UPS.
Finally, we toasted with a bit of champagne...
...and (shhh!) a couple of us had a little more than a bit.
What’s next?
Now that these servers are installed, we’re beginning the migration of
the software from the old server to the new servers, and we’re also
burning them in. The new servers will probably go live as the new
production machines in late March or early April.
--Todd
|
|
Message has 3 Replies:
 | | Re: Server installation photos
|
| (...) 4 hours? Not bad! One Q though... RH9 aka Shrike? It's support is about to be dropped by RedHat in 2 months, making it a lot harder to keep it up-to-date security wise (I know about the Fedora project, but it's not the same even though they (...) (22 years ago, 7-Mar-04, to lugnet.admin.general, lugnet.general)
|
9 Messages in This Thread:


- Entire Thread on One Page:
- Nested:
All | Brief | Compact | Dots
Linear:
All | Brief | Compact
|
|
|
|